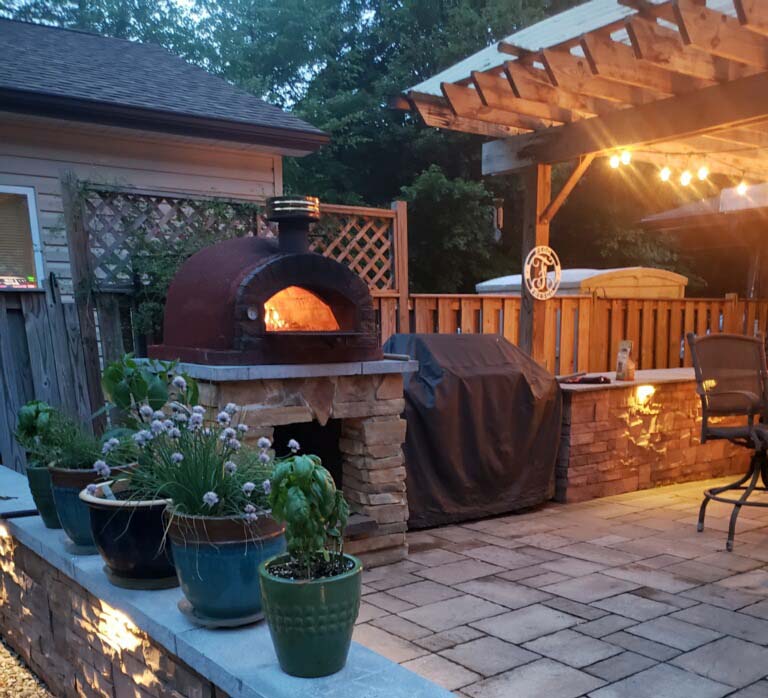
Just think of it, sitting out back on your beautiful patio enjoying fresh Wood Fire Pizza made right in your own back yard, out of your own custom pizza oven. Can you taste it now? There are several benefits to having a custom wood fire oven installed, and we’re going to share those tasty reasons with you!
Out of this World Flavor
I don’t know if you have ever had a fresh wood fire pizza, but if not, the flavor is just so delicious. The reason for this is that the type of wood you use will actually impact the flavor of your food. Experiment with some different woods and find out what you end up liking best.
Perfect for Spring and Summer, Oh and Fall too
Let’s be honest, an outdoor wood fire oven is pretty much perfect for whenever! But in the summer when your house is hot, and you don’t feel like making it hotter with the oven, you can just make dinner outside!
Versatile in Food Preparation
While pizza is one of the best things to make in your wood fire oven, the oven is actually very versatile. From meats to vegetables to even homemade bread, when you get sick of pizza, just change it up. Is that even possible?!?
Saves You Energy
Since the heat comes from a wood fire, there is no electricity needed to use an outdoor pizza oven. That will help save you money, since you won’t have to run the oven all the time.
So, chances are after this post, will you be ready to have your own custom Wood Fire Pizza oven built? If that is the case, don’t hesitate to contact us and let’s discuss! Even if you’re still on the fence, learn how to make Wood Fire Pizza. If you’re thinking about making the jump to adding an outdoor pizza oven at your house, give us a call and let’s talk!
- 4 cups stone-milled flour

- 1 cup warm water
- 1 ounce brewer’s yeast
- 1 tablespoon olive oil
- 1 pinch salt
Dough Instructions:
- Compile flour in mound with a spherical depression in the center.
- Place water and yeast into center.
- Knead the dough for 10-15 minutes. It’s a tiresome task, but remember, this is your base layer and will absolutely make or break the pizza. The result should feel elastic and smooth.
- Morph dough into a ball and place into a bowl lined with a little oil
- Let rise in warm place for two hours
- Knead again
- Divide into four balls
- Place and cover on floured surface
- Let rise for one hour
- Build a stick-based fire in the center of the oven and heat oven to 700 degrees or until the soot begins to vaporize on the ceiling and burns off entirely.
- Shape the dough with your hand making disk shapes.
- Top it with your favorite toppings. Get creative in what you top it with!
- Place on a pizza peel and put in your oven, shifting the pizza off the peel to the oven floor.
- The pizza will not take long to bake so watch it. Rotate the pizza about 180 degrees after 40 seconds of being in the oven and remove it when the crust is browned, cheese is crusted and the toppings begin to bubble.
- Take it out of the oven and ENJOY!
Reference – https://www.pizzaironside.com/make-pizza-in-wood-fired-oven/

